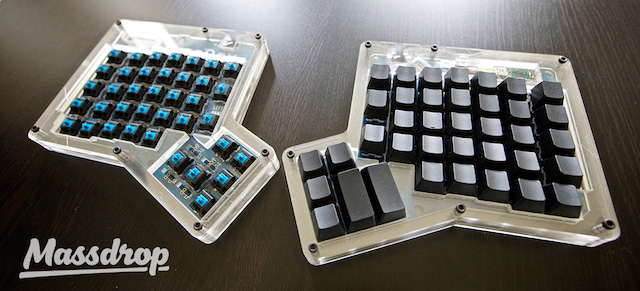
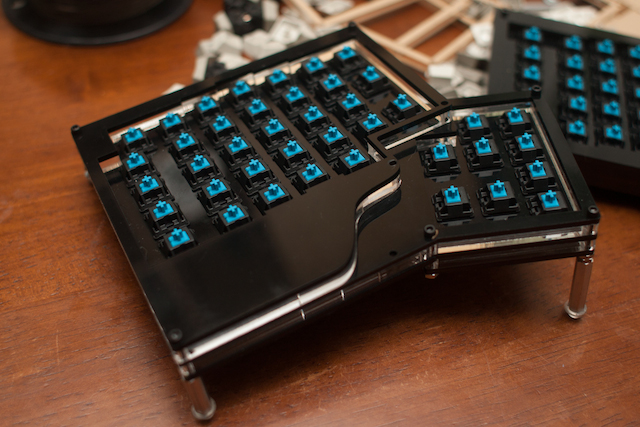
The ErgoDox is a split ergonomic keyboard project. One of the most notable things about it is that you can’t buy this keyboard — you have to build it yourself! The parts list is available on the site, along with the designs for the PCB and case.
I recently built one, sourcing the parts myself, and I’d like to share what I’ve learned.
Reference Build
The easiest way to build one is to get in on one of the group-buys of full kits organized by Massdrop. Their kits have become the most common build, with options for different style Cherry keyswitches and either a classic case or one with wrist rests.
After some investigation, I decided I could build something very similar without the kit.
Ordering the Parts
There are a few major things that you need to build an ErgoDox:
- Printed circuit boards (PCB)
- Teensy controller
- Keyswitches
- Key caps
- A bunch of little electronic components
- A case
I obtained the PCB, Teensy, and keyswitches from Mechanical Keyboards.
I managed to pick up all the little electronic components from DigiKey, except for the TRRS connectors which are currently unavailable. The TRRS connectors are the headphone-style jacks that are used to connect the two halves. I decided to not use TRRS and to just solder basic wires directly onto the board.
The PCBs were \$38, the keyswitches were \$49, the Teensy was \$22 (but can be bought for less), and the rest of the components came out to about \$20. This \$129 covers everything needed except for the case and the keycaps. For reference, the Massdrop group buy is \$199 for everything excluding the keycaps, so I had roughly $70 to spend on the case before it would have made financial sense to wait for another group buy opportunity.
Making the Case
There are really two options for making a case:
- 3-D printing
- Laser cut acrylic
The designs for the case are available on Shapeways, but it comes out to almost \$200, even when choosing the least expensive options for everything! I considered printing it myself on the Makerbots at my office, but I was skeptical that the older models we have would result in acceptable quality.
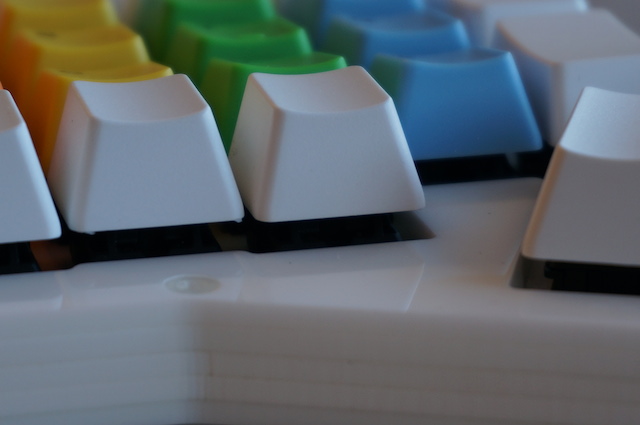
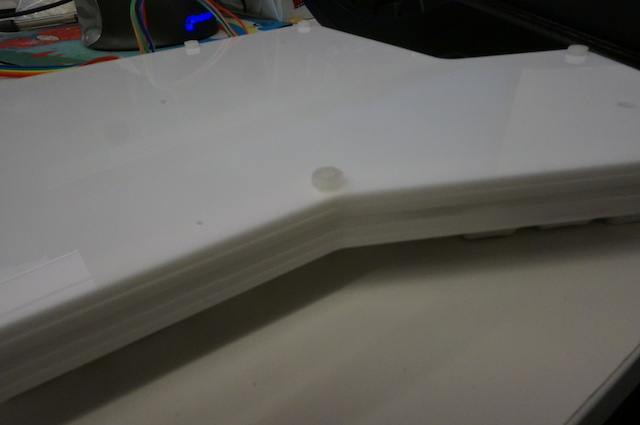
Laser cutting the acrylic seemed like the way to go, so I picked up 5 12”x12” sheets of 3mm opaque white acrylic from Canal Plastics for \$7 a sheet. They can be ordered from Amazon for basically the same price. The design used in Massdrop’s kit uses 3mm sheets for the top and bottom and 5mm sheets for the middle 3 layers, but I believed (hoped!) that I could make it all fit in a slimmer case.
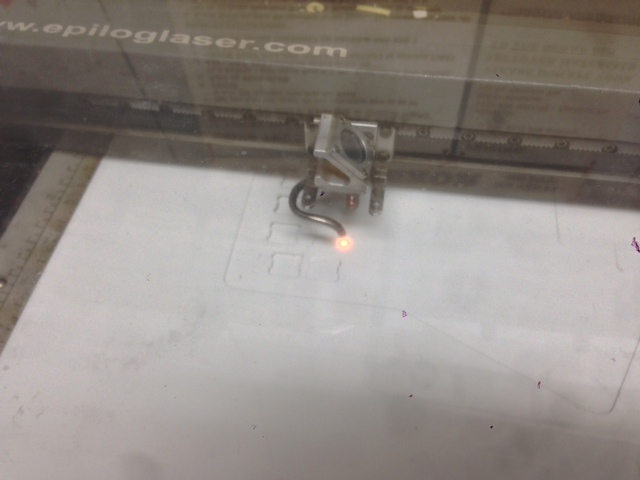
I had never laser cut anything before, but my coworker Trammell has a ton of experience with it and helped me out. He’s a member at NYC Resistor and they have a laser! We used Inkscape to generate PDFs and then used his command line laser cutting tool to send them over to the Epilog laser cutter. We were able to get 2 layers out of each sheet, as you can see in these action shots:


And the final result:

It took just under 27 minutes of actual laser time, which at \$0.75/min came out to \$20. \$55 for the case was a lot more than I expected, but it still kept the cost below \$199. It seems like this is the part that would offer the most savings if done as part of a group buy.
Keycaps
Massdrop usually offers a separate group buy of PBT DCS keycaps when they offer the full kit. I decided to try using standard keycaps and to buy the missing ones separately. This was a big mistake. A proper set of keycaps for the ErgoDox requires 12 1.5x keycaps, which are way too expensive when bought separately. Only later did I discover that the Pimp My Keyboard shop has PBT DCA blank sets for the ErgoDox for $43.
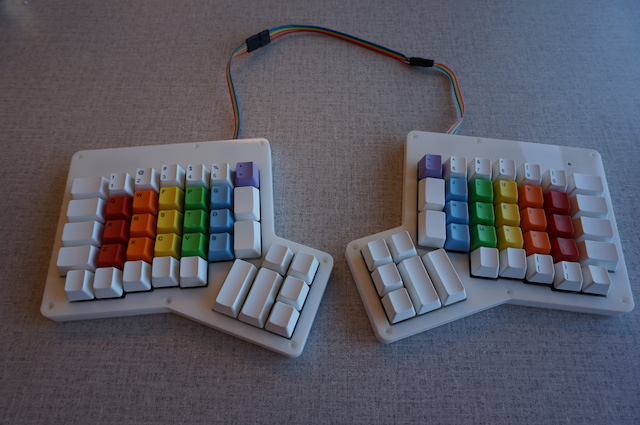
I got my keycaps from WASD Keyboards. They have a pretty slick keycap designer. I used it with my kids and we came up with a design they were happy with (my 3 year-old is currently obsessed with rainbows):
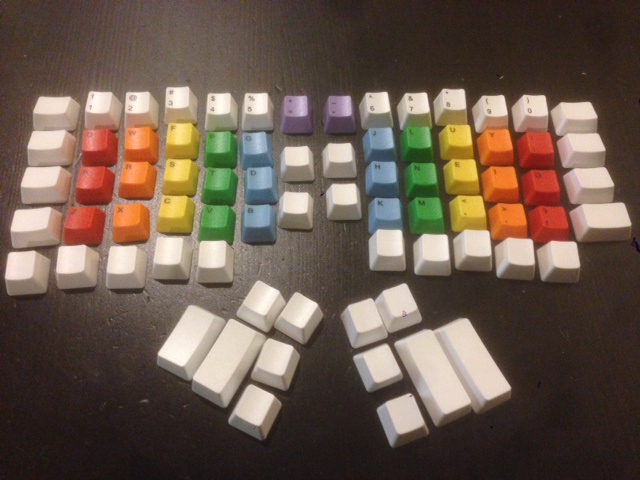
I decided to take advantage of their ability to print whichever letters I want on each key to make this be the Colemak layout. I’ve got the layout commited to muscle memory, but sometimes my kids want to type on my keyboard and it’s annoying to switch to QWERTY so the keys match the letters printed on them.
Putting It Together
I did the actual soldering and assembly in the Hackerlab at my office:
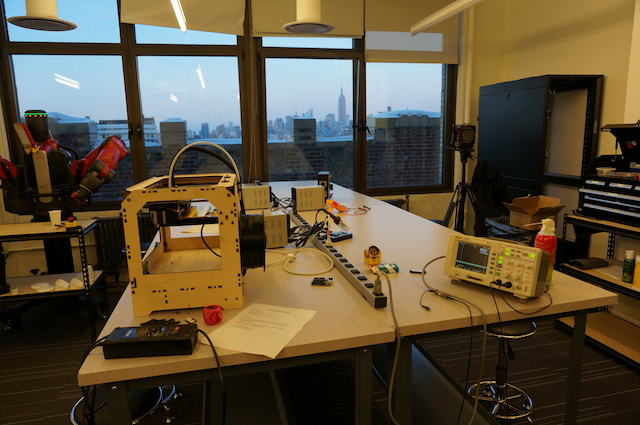
To put it together, I mostly followed Massdrop’s assembly instructions. I did a decent job soldering (it’s almost 400 solder points), but I wish that I had watched the EEVblog videos on soldering beforehand. That guy knows what he’s talking about.
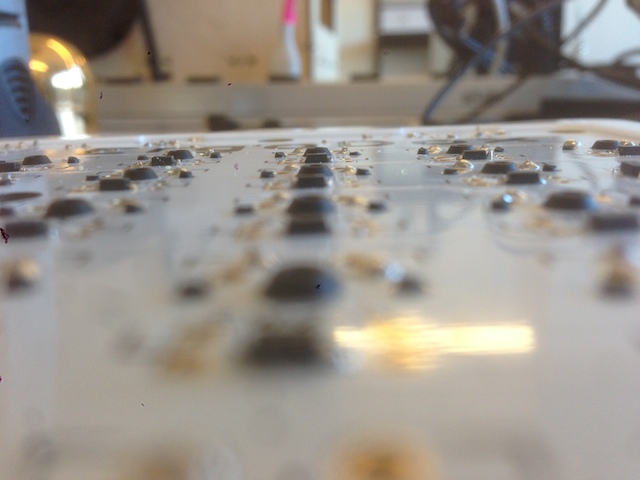
Because I used 3mm sheets instead of the recommended 5mm, there wasn’t a lot of clearance and I had to get creative. The keyswitches stuck out a little too far on the bottom of the PCBs, so I used flush cutters to trim the leads and the plastic nubs:
Originally, I used the recommended header pins to connect the Teensy to the PCB, but that brought the USB connector too high and prevented the top layer from fitting. Instead, Trammell suggested I mount it directly on the PCB. Desoldering the Teensy was really, really hard. The throughholes are tiny and there are so many of them! I ended up using the Dremel to clear some space around it and then used the cutting wheel to slice the header pins. Unfortunately, I got the angle wrong one time and took out a nice chunk of the Teensy’s bottom:
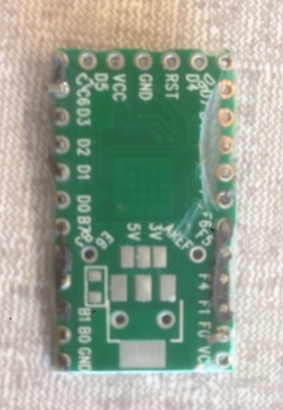
I got a replacement Teensy. With some electrical tape on the bottom, I put it directly on the PCB which got me the clearance I needed:
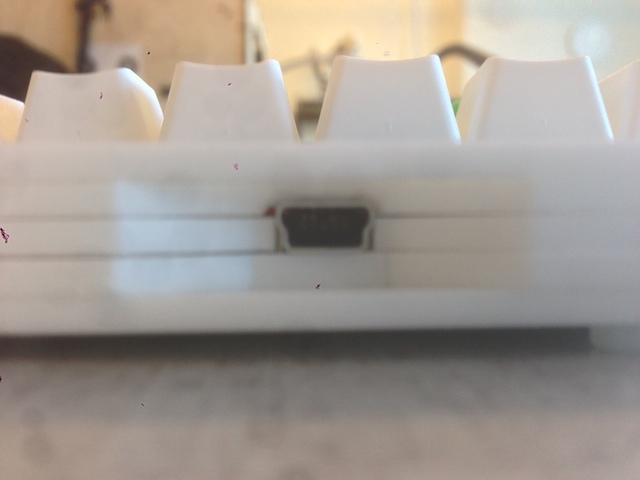
The mini-USB port on the back is about 5mm tall, so it also prevented the layers from fitting together nicely. I remedied that by dremeling a little into the 4th layer. It’s not beautiful, but it’s in the back and it’s good enough.
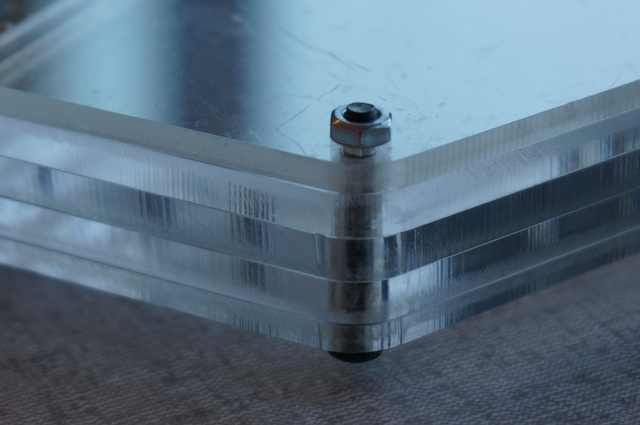
The Massdrop kit includes metal screws and nuts that are seriously sharp and will gouge the surface you put the ErgoDox on:
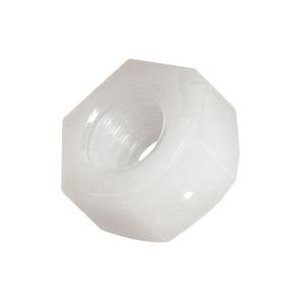
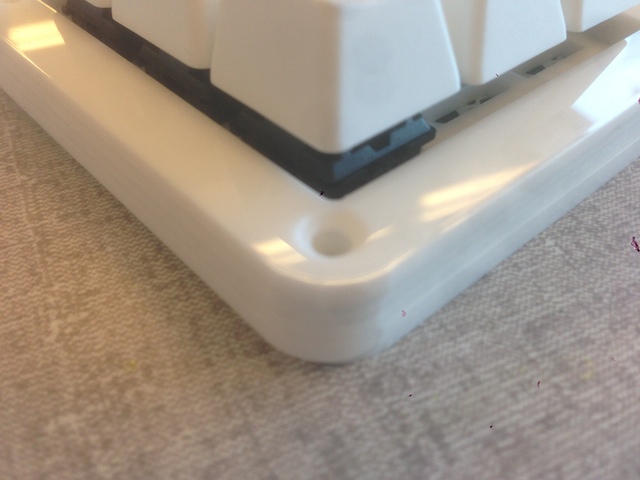
I decided to go with white nylon flat-head screws and nuts for both aesthetics and the safety of my desk:
The Dremel came in handy again for making countersinks and for shortening the screws:
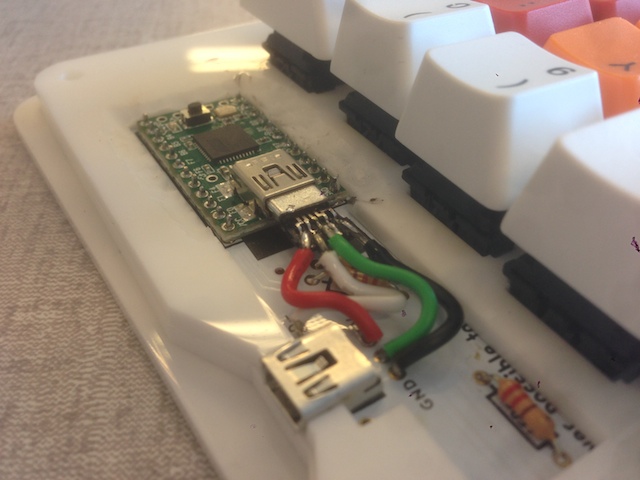
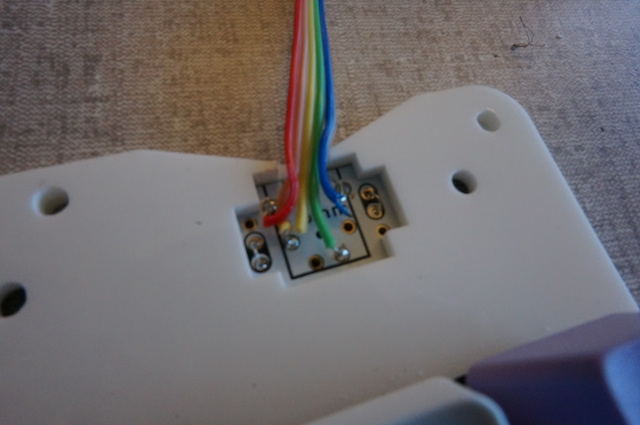
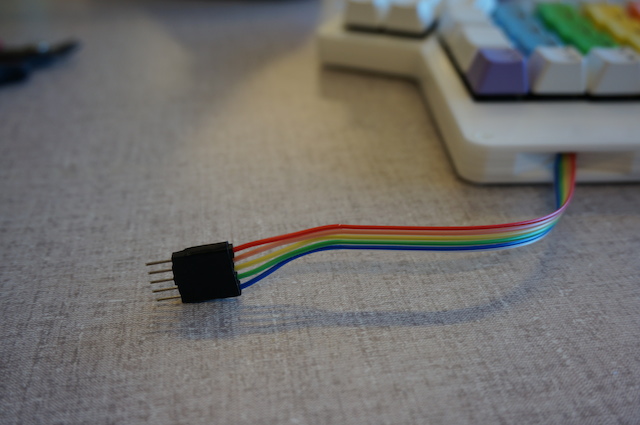
The only other deviation from the original design was that I didn’t use the audio jack style connector. This was motivated by the fact that Digikey didn’t have it in stock and that the jack would be too tall for the 3mm sheets. I just soldered the wires directly onto the PCB:
Programming the Teensy
I used the most excellent ErgoDox Layout Configurator provided by Massdrop to make my own modified layout that matches what I use on my Kinesis Advantage. It was pretty straightforward. I made one of the inner 1.5x keys switch to a QWERTY layer as a courtesy to anyone else who wants to try it out.
Final Product
Here’s how it came out:
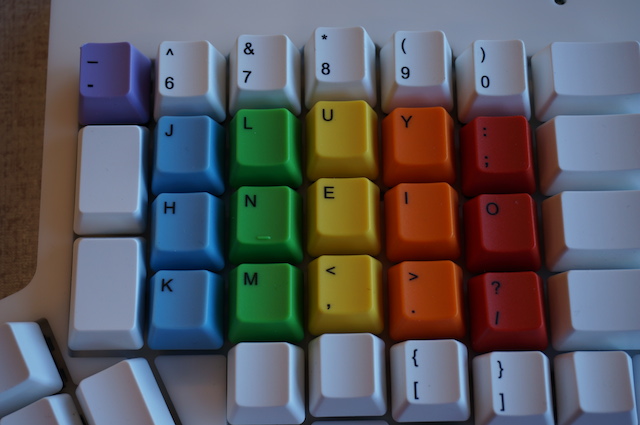
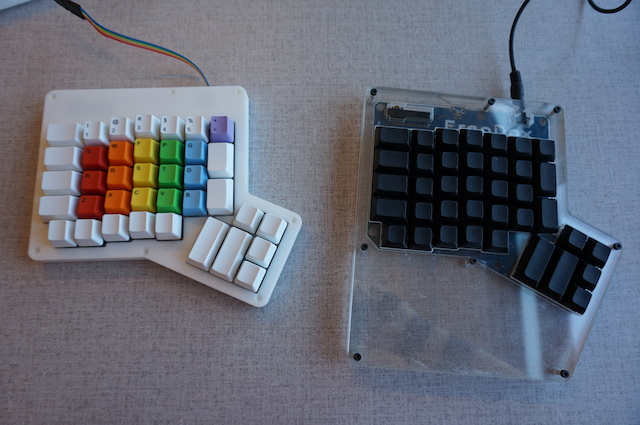
Side-by-side comparison with one of my coworkers’ build of Massdrop’s kit with the palm rest:
And here you can see just how much thinner the case is with all 3mm sheets:
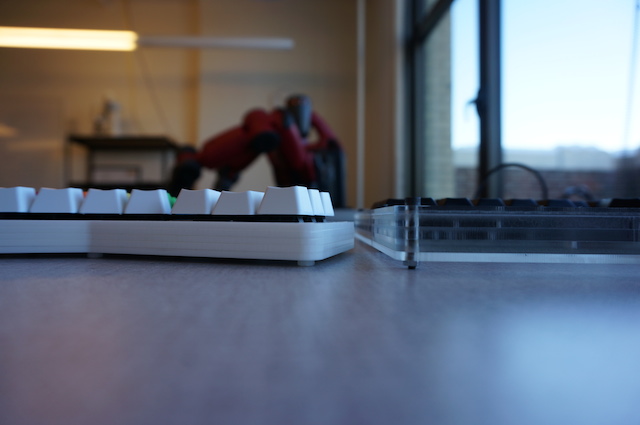
The keycaps I used were taller than the PBT DCS ones sold by Massdrop, so it ended up being close to the same height.
Review and Next Steps
The design and build were fun, but the real test is actually typing on it. Like the Kinesis Advantage and Truly Ergonomic, the ErgoDox features a columnar layout with staggered keys, which is much more comfortable for me than the traditional layout. Unfortunately, the PCB is flat and I find it to be less comfortable than the Kinesis’s bowl shape. It’s hard to manufacture curved or flexible PCBs, so it’s understandable that this DIY project wouldn’t require it.
A common complaint about the ErgoDox is that the thumb clusters are too close to the other keys. This turned out to be a real problem for me as it requires a serious contortion for me to his the top keys of the thumb cluster. On the Kinesis, I have these mapped to the oft used Ctrl and Alt keys. It was so bad that I ended up having to remap the bottom corner keys to Ctrl and Alt and relegate the top 2 keys to less used ones. I’m not the only one who has struggled with this and the best solution I’ve seen so far is AcidFire’s Grand Piano design:
Another issue is that I chose the wrong keyswitches. My primary keyboard is the Kinesis Advantage LF, which uses Cherry MX reds. I love them, but they are really hard to find at a reasonable price. I wasn’t about to spend $160 on the keyswitches, so I opted for Cherry MX blacks. They are linear feel like the reds, but much stiffer, with an activation force of 60cN instead of 45cN. This didn’t seem like a big deal when I tried it out with individual switches from a sampler set, but it was a whole other experience when trying to type on a full set. It’s much harder to type on and I could feel my fingers straining very quickly.
The last issue is that the ErgoDox really need to be tented at an angle for maximum comfort. My plan was to use this as an ergonomic solution while traveling and I have some designs that would make it easy to attach to my laptop in a tented position. Something like this:
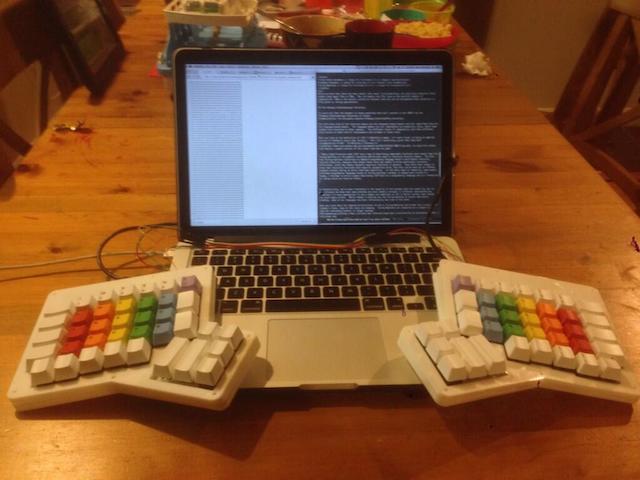
I decided to hold off on this until I have a solution for the other issues I listed.
Conclusion
Overall, this was an incredibly fun project and I learned a ton about how keyboards are made. For anyone who’s waiting for the next Massdrop group buy of a kit, you should know that it can be done by yourself for about the same price if you can get access to a laser cutter or CNC mill to make the case. I’m sure someone can be more creative and come up with an even more accessible solution.
Unfortunately, I’m not thrilled with the actual typing experience, so I can’t recommend it over the Kinesis Advantage. Some people love it, so try it out for yourself if you can or at least print out a stencil of it before committing.
My plan is to take what I’ve learned and to try and build something that’s an even better fit for my travel usage. Hopefully I can procure some Cherry reds for a reasonable price in the future…
